


If your closet redesign starts with rods, drawers, and finish samples, you’re starting too late. A closet inventory comes first, because the fastest way to waste money is to build storage for the version of your wardrobe you imagine, not the one you wrestle with every Tuesday morning.
What a closet inventory will tell you before you redesign
A closet inventory is not busywork. It is the diagnostic step that shows what you actually own, what you actually wear, and where your current setup keeps failing you.
That matters because closet projects are rarely cheap. In the current renovation market, homeowners are still spending heavily on improvements, with $524 billion in remodeling and repair spending projected in early 2026. If you are going to put money into your closet, even a modest amount, you want the plan grounded in real numbers.
A good inventory answers simple questions with useful detail: how many hanging pieces need rod space, how many folded items really belong in drawers, how many shoes are eating the floor, and how much of the closet is being taken over by things that should live somewhere else. That is the difference between a pretty layout and one that actually fixes your mornings.
What you’ll need before you start
Keep the setup simple so you actually finish. You need a notepad or spreadsheet, a phone camera, a tape measure, a few baskets or laundry hampers, sticky notes or labels, and enough open space on the bed or floor to sort without stepping over piles.
Block off real time. For a small reach-in closet, plan on about 60 to 90 minutes. For a packed primary closet, give yourself two to three hours, or split it across two sessions. The trick is to avoid trying to do this in ten distracted minutes before dinner. That is how a useful inventory turns into three random piles and a bad mood.
Step 1: Empty the closet in a way that won’t create chaos
- Start by grabbing your baskets, labels, and phone.
- Remove items in sections instead of pulling everything out at once.
- Keep each section grouped so you can still tell what lived where.
- Take a quick photo before each zone is emptied.
Success here looks simple: the room stays manageable, and your categories are still recognizable.
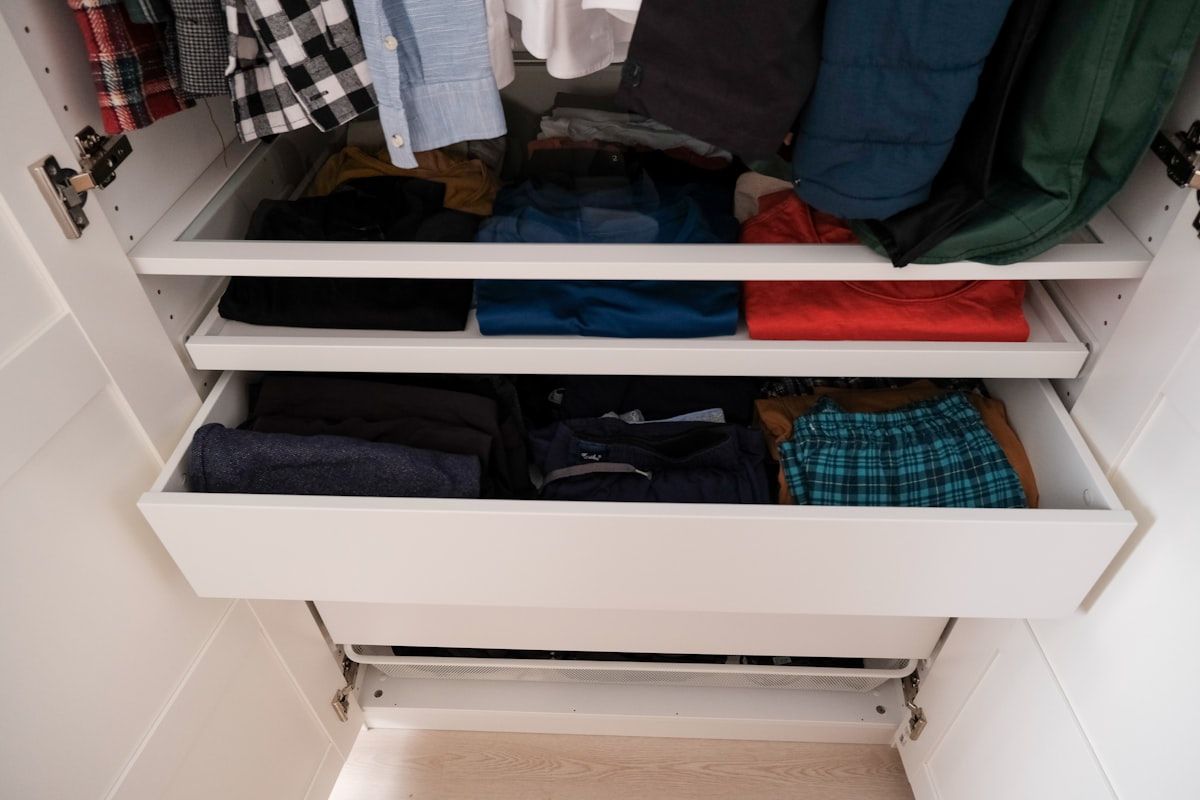
Start with one zone at a time
- Empty hanging clothes first.
- Move to shelves next.
- Then do drawers, floor storage, and top shelves.
- Keep each zone separate while you work.
This order helps you spot the real trouble areas. If shoes spill out of one corner and sweaters are shoved onto a high shelf, you will see the overflow pattern immediately.
Create simple staging areas
- Use the bed for hanging clothes and folded stacks.
- Use a dresser top for accessories or bags.
- Use labeled baskets for smaller categories like belts, socks, or scarves.
- Keep one basket for items that clearly do not belong in the closet.
A staging setup sounds basic, but it keeps the process from turning into a yard sale in your bedroom. If your closet has always felt like a losing battle, structure matters.
Step 2: Sort everything into real-life categories
- Group items by how you actually use them.
- Avoid fantasy categories tied to a life you no longer live.
- Keep your sorting broad at first, then split categories that affect storage.
This is where your closet inventory starts becoming useful instead of just visual.
Group by clothing type first
- Make separate groups for tops, pants, dresses, jackets, shoes, bags, belts, workout clothes, sleepwear, and accessories.
- Keep your counts rough for now.
- Focus on getting a clean baseline.
If your closet has been frustrating for years, start with honesty. Your work tops and weekend sweatshirts need different kinds of access, but both need space.
Split out special categories that affect design
- Pull out bulky sweaters.
- Separate long dresses and coats.
- Create their own piles for boots, handbags, jewelry, laundry, and folded denim.
- Keep these categories visible.
These are the categories that drive design choices. Ten blouses can share one rod section. Ten puffer coats cannot. If you are comparing layout ideas later, this is also the point where storage built around daily routines starts making more sense than generic shelf kits.
Separate your closet from everything that drifted into it
- Set aside keepsakes, papers, extra bedding, gift bags, and random storage-bin overflow.
- Put luggage in a separate group if it must stay nearby.
- Mark anything that belongs in another room.
Do not redesign your closet around household leftovers. If guest sheets, old tax folders, and wrapping paper moved in years ago, that is a storage problem, not a wardrobe need.
Step 3: Count what you have and record it
- Pick one tracking method.
- Count category by category.
- Write the number down immediately.
- Take photos as you go.
“A lot of shoes” is vague. “Eighteen everyday pairs and nine occasional pairs” is useful.
Choose a tracking method you’ll finish
- Use paper if that is fastest.
- Use a spreadsheet if you want cleaner totals.
- Use a wardrobe app if photos and tags help you stay consistent.
- Keep the format simple enough to finish in one pass.
Speed matters more than perfection. If your tracking system feels like bookkeeping, you will stop.
Record item totals by category
- Count hanging pieces by type.
- Count folded pieces by stack.
- Count shoes by pair.
- Count bags, belts, and accessories in clear groups.
- Add brief notes like “overflowing,” “hard to reach,” or “mixed season.”
Those totals become the base for your rod length, shelves, and drawers later. That is why many pros recommend inventory first before any redesign.
Take photos for reference
- Photograph each finished category pile.
- Photograph the empty closet zones.
- Capture any awkward corners, jammed rods, or hidden shelves.
- Keep all photos in one album.
Photos save time later. You will not remember every pain point once the room is back together.
Step 4: Mark what you use often, sometimes, and almost never
- Go through each category.
- Tag items as often, sometimes, or rarely used.
- Keep the process fast and honest.
A closet should be built around what you wear on a normal Tuesday, not what looked like a good idea five years ago.
Identify your high-use items
- Pull out the clothes, shoes, and accessories you wear every week.
- Mark those as high-use.
- Note anything you reach for in the morning without thinking.
These deserve the best real estate in your future layout, between shoulder and knee height, with easy visibility.
Spot the low-use and no-use pieces
- Notice duplicates you keep working around.
- Flag items that no longer fit your life.
- Mark occasion pieces you rarely touch.
- Separate worn-out items from rarely worn but still useful ones.
This is where wasted space shows up. Not emotionally. Physically.
Tag by season, occasion, or lifestyle
- Mark workwear, weekend clothes, formalwear, travel pieces, and workout gear.
- Note which items are in-season and off-season.
- Add quick labels if your routine shifts during the year.
These notes make your final design smarter. They also pair well with closet setups that fit how you really live, not just how stores display them.
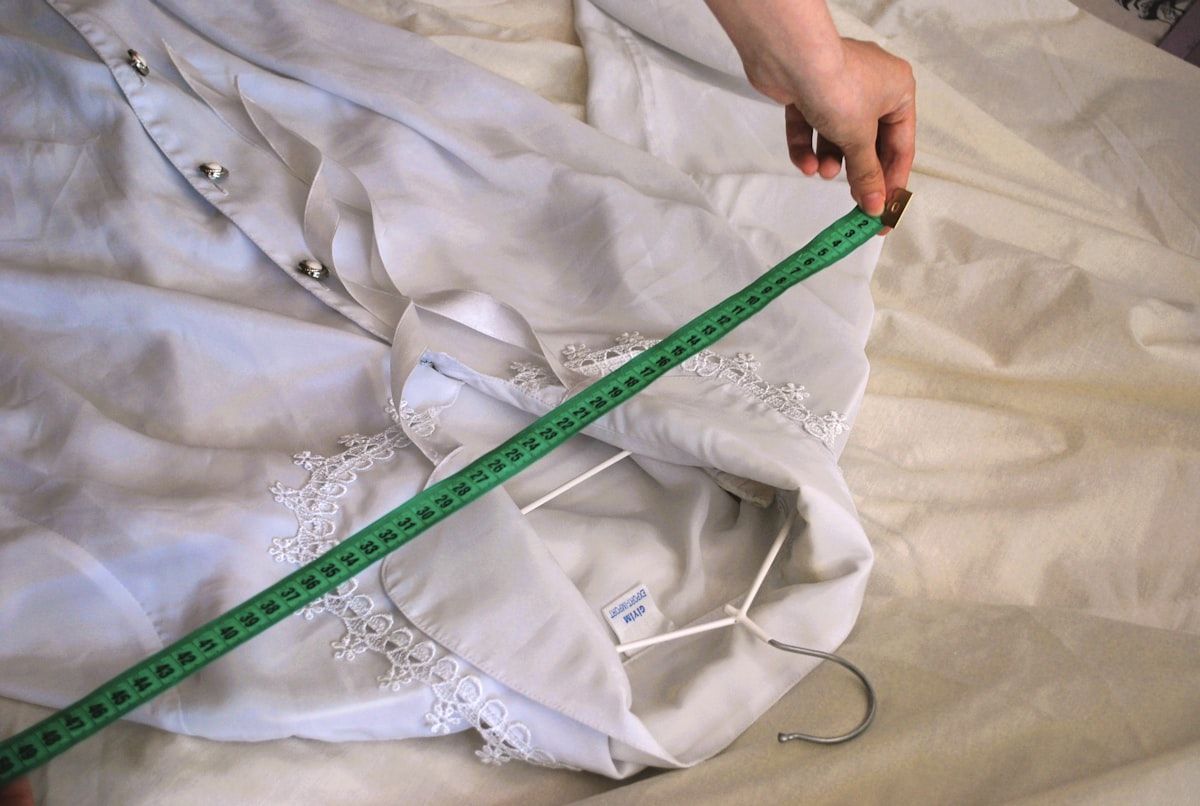
Step 5: Measure the items, not just the closet
- Measure the categories that take up real volume.
- Focus on rod length, stack height, and shelf depth.
- Record dimensions in the same place as your counts.
Counting is not enough. Ten silk blouses and ten wool coats do not ask for the same space.
Measure hanging categories
- Group shirts, pants, dresses, coats, and long garments separately.
- Measure the total rod length each category currently uses.
- Note where double hanging could work.
- Mark where full-length hanging is non-negotiable.
A cramped rod creates wrinkles, visual clutter, and that annoying hanger-jam every morning.
Measure folded and stacked categories
- Measure the width, depth, and average stack height of sweaters, jeans, handbags, and tees.
- Note which stacks topple easily.
- Flag shelves that are too deep or too tall.
That messy shelf is often a sizing problem, not a discipline problem. Shelves that are too deep become dark caves for forgotten clothes.
Assess shoes and accessories by footprint
- Count everyday shoes, boots, heels, and occasion pairs separately.
- Measure boot height and shelf depth needs.
- Estimate how much space belts, jewelry, and small accessories need.
- Note whether hooks, trays, drawers, or shelves make more sense.
Shoe storage is one of the biggest design drivers in a closet inventory, especially if the floor has become accidental storage.
Step 6: Write down the friction points in your current closet
- Walk through your normal morning routine mentally.
- Write down every spot that slows you down.
- Keep your notes concrete.
Annoyance is useful data.
Notice what slows you down in the morning
- Note poor visibility.
- Note crowded rods and hard-to-reach shelves.
- Note the lack of drawer space.
- Note if worn-once clothes end up on a chair because there is nowhere else for them to go.
If your closet adds friction at 7:15 a.m., that belongs in the plan.
Identify dead space and overstuffed space
- Look for wasted vertical height.
- Spot awkward corners and blocked lower shelves.
- Notice floor areas acting like overflow bins.
- Compare empty zones with overpacked ones.
This is often where better use of a tight closet footprint becomes more about layout than buying more bins.
Separate storage problems from editing problems
- Ask whether a category is hard to store because of poor design.
- Ask whether it is hard to store because there is simply too much of it.
- Mark the answer beside each trouble spot.
That distinction keeps you from paying for space you do not need.
Step 7: Decide what stays, what goes, and what moves elsewhere
- Review your counts and frequency notes.
- Edit before you redesign.
- Aim for realism, not a dramatic purge.
Your future closet should hold your actual life.
Keep the pieces that support your actual life
- Keep what fits.
- Keep what gets worn.
- Keep what earns easy access in your routine.
- Keep specialty items you truly use, even if not weekly.
This creates a more honest closet inventory and a much better redesign brief.
Remove duplicates, worn-out items, and aspirational clutter
- Pull obvious duplicates.
- Remove damaged items you have been ignoring.
- Set aside clothes tied to an old job, old size, or old routine if they no longer serve you.
- Be firm with bulky low-value pieces.
This step can save real money, especially when custom systems can climb into the thousands.
Relocate items that belong somewhere else
- Move keepsakes to memory storage.
- Move guest linens to a linen closet.
- Move luggage or seasonal overflow only if your closet truly has room for it.
- Keep wardrobe storage focused.
If you are planning a professional install, a custom closet consultation goes much better when your notes reflect what really belongs there.
Step 8: Turn your closet inventory into a redesign wish list
- Look at your counts, measurements, and pain points together.
- Translate them into features.
- Prioritize function before finishes.
Here’s the thing: this is where the inventory starts paying you back.
Match categories to storage types
- Assign hanging rods to hanging-heavy categories.
- Assign drawers to folded basics and smaller items.
- Assign shelves or cubbies to sweaters, bags, and shoes.
- Add hampers, hooks, or trays where your inventory shows a need.
Shelving remains a major part of closet systems, and for good reason. It solves a lot, but only when used for the right categories.
Prioritize the features that fix daily friction
- Rank the top three problems your redesign must solve.
- Give priority to things like better shoe storage, more double hanging, useful drawers, or a real laundry zone.
- Ignore nice-to-have features until the daily bottlenecks are covered.
If mornings are chaotic, design for mornings first.
Plan for flexibility
- Leave room for seasonal swaps.
- Choose adjustable shelves if your wardrobe shifts.
- Consider modular pieces if you are not ready for a fully custom build.
- Note any material preferences, including low-VOC or recycled options if that matters to you.
A flexible system ages better than a rigid one. Life changes. Closets should keep up.
Step 9: Create a simple summary you can use with a designer or contractor
- Condense your notes into one page.
- Keep it readable.
- Include only what will help a design decision.
This step saves time and prevents the usual “I know it’s not working, but I can’t explain why” conversation.
Build a one-page closet inventory summary
- List category counts.
- Add measurements for hanging, folded, and shoe storage.
- Include your main pain points.
- Add a short note about what was removed or relocated.
A clean summary beats a pile of scribbled notes every time.
Add photos and must-have priorities
- Attach a few photos of the current closet.
- Add category photos if useful.
- List your top redesign goals, such as easier mornings, less floor clutter, and better seasonal storage.
Now your inventory has direction, not just data.
Note budget and material preferences if you have them
- Write down a rough budget if you have one.
- Note if you are comparing modular and custom systems.
- Add any preferences around finishes, sustainability, or phased installation.
Even a rough note helps narrow the options.
Common mistakes to avoid during a closet inventory
The biggest mistake is counting without sorting first. That gives you numbers, but not insight. Another common one is measuring the closet walls and skipping the contents, which misses the whole point.
Vague categories also cause problems. “Miscellaneous” is not a storage category, it is where plans go to die. And if you start while rushed, tired, or halfway through laundry, you will get sloppy counts and abandon the process.
Troubleshooting: If your closet inventory starts to feel overwhelming
If the project starts feeling too big, shrink the job. Finish one category. Then another. Momentum matters more than intensity.
A partial inventory is still useful if it covers the bulky, space-hungry stuff accurately. Shoes, outerwear, folded sweaters, handbags, and long hanging pieces usually matter more than counting every single tank top.
If you share the closet with someone else
- Inventory each person’s items separately.
- Count hanging and folded needs on each side.
- Mark shared zones clearly.
- Note different height needs or routines.
Shared closets fall apart fast when both sets of belongings get blended into one average plan.
If your wardrobe changes a lot by season
- Count in-season and off-season items.
- Decide what needs prime access now.
- Mark what can move up high or elsewhere for part of the year.
- Make seasonal storage part of the plan, not an afterthought.
The catch is that off-season storage still needs a home.
If you do not want to count every single item
- Use exact counts for coats, dresses, shoes, boots, and bags.
- Use grouped estimates for basics like socks or simple tees.
- Count by stack when that is faster.
- Stay consistent enough to compare categories fairly.
Done right, a rough count is still far better than guessing.
What your finished closet inventory should include
By the end, your closet inventory should include category counts, a few reference photos, use-frequency notes, rough measurements for hanging and folded storage, a list of friction points, and a short redesign priority list.
If you have all of that, you are done. Not perfectly done. Usefully done.
What to do next with your closet inventory
Use your finished inventory to sketch a layout, compare modular and custom options, or prepare for a consultation. Because closet demand keeps growing and homeowners are investing in more personalized storage, the smartest move is still the simplest one: design around your real stuff, not your frustration.
Try one thing tonight: count just your hanging clothes. That single number will tell you more about your next closet than another hour of browsing inspiration photos.
Frequently Asked Questions
How detailed should a closet inventory be?
Detailed enough to guide design decisions, but not so detailed that you quit. Exact counts matter most for hanging clothes, shoes, coats, bags, and folded bulk like sweaters or jeans.
Should you inventory clothes stored outside the closet too?
Yes. Include anything that is supposed to move into the redesigned closet, even if it is currently in a guest room, basement, or another bedroom.
Do you need an app for a closet inventory?
No. Paper or a simple spreadsheet works fine. An app can help with photos, tagging, and tracking wear frequency, but speed matters more than the tool.
How long does a closet inventory usually take?
A small closet can take about an hour. A full primary closet often takes two to three hours, especially if you sort, count, measure, and edit in the same session.
What if your closet inventory shows you own too much?
That is still a win, because now you know the problem. Edit the low-use categories before redesigning so you do not build and pay for storage you do not actually need.
Can you do a closet inventory without emptying the whole closet?
Yes, but emptying at least one zone at a time works much better. Full visibility makes it easier to count accurately, spot overflow, and notice what has drifted into the closet over the years.